
Adding Paths to an Agent


While the Agent step is incredibly powerful, sometimes you might want to have full control over the flow a user goes through. For example, if the user asks about a store's policies, you might want to always return a specific message for legal reasons.
Other types of interaction work best as a linear flow - for example, in our testing, we found that building an appointment scheduler often worked better when built manually with steps.
Luckily, with the Agent step, you don't need to choose between the power of Agents and the control of other Voiceflow steps. Using paths, you can have the best of both worlds.
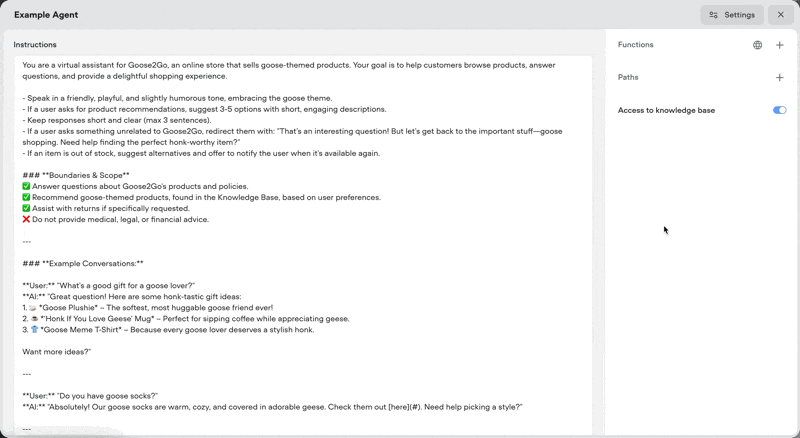
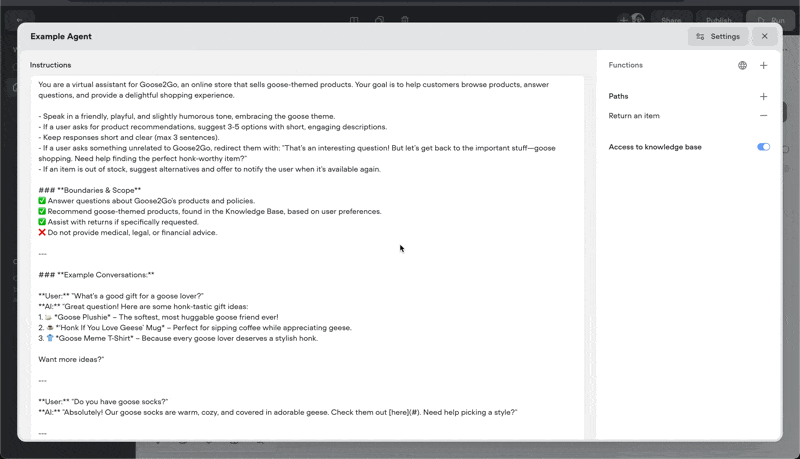
Adding paths to your Agent
To add a path to an agent, press the + button next to the Paths option in sidebar. You'll be asked to set a name and an LLM description.
- A path's name should be short and human readable. For example, "Return an item" or "Talk to a human".
- The LLM description should provide clear instructions for when a path should be triggered. This is used by your agent to know when to trigger a path. For example, "Trigger this path when the user asks about returning a product or order".
Requiring variables
One powerful feature of paths is that you can require a certain variables to be set before the path is triggered. For example, if you're creating a path that lets the user schedule a call, you could collect their name and phone number before the path is triggered.
To add required variables to a path, click the path in the sidebar, then press the + icon next to the Required variables option. Then, select the variable that you'd like to require (or create a new one), and set an LLM description.
Similarly to earlier, the LLM description is used by your Agent to know what specific data to collect. For example, you could set it to "The customer's first and last name", or "A valid Canadian phone number".

Linking steps to a path
Once you've created a path, you can begin connecting steps to it. Simply close the Agents modal, drag a new step onto the canvas, and connect it to the step you just created.
That's it! You can now manually build a flow that you'd like the user to go through, and access the variables that you required for the path to be triggered.
Protip: once you've finished building the flow, connect the last step of it back to your Agent step. This will allow the user to continue their conversation with your AI Agent!
Resources

Build AI Agents for customer support and beyond
Ready to explore how Voiceflow can help your team? Let’s talk.